
I hope things are going well for everyone! I've been pretty good myself. Working full-time is getting to me a bit; I have so many crafting and cosplaying plans, but between working, working out, and keeping up my "adult" chores, I find myself with only an hour or so a night before I have to go to bed and start it all over again. I'm getting better with time management, but some nights its so easy to just want to melt into the couch and veg out after a stressful work day. Some days, I really miss college, but I know that being a full time student can be just as taxing as working full time. So what do I do to cope? Resort to crafting, of course!
I made another addition on my headdress for my Morgiana cosplay. As you might notice from the pictures below, there is a cute little poof of hair that stands up from the headdress:


Now, my original plan was to pull some of the wig I was wearing up into a tiny ponytail to make the "poof," but then I thought: why not make something that will always be consistent? Because frankly, pulling a bit of hair into a ponytail is a pain in the butt, and the results won't always look the same, and it could slide out at any time. The solution? Read on ;)
First, I needed something solid to build from. Thats where some styrofoam comes in. I made approximate measurements of how wide and tall I wanted the poof to be, leaning towards the smaller side to make sure I had plenty of room for layers of hair. Once I cut the block out, I trimmed it down into a oblong-ish shape.


Next, I covered it with a layer of scrap fabric so the hair would have a more even surface to stick too.
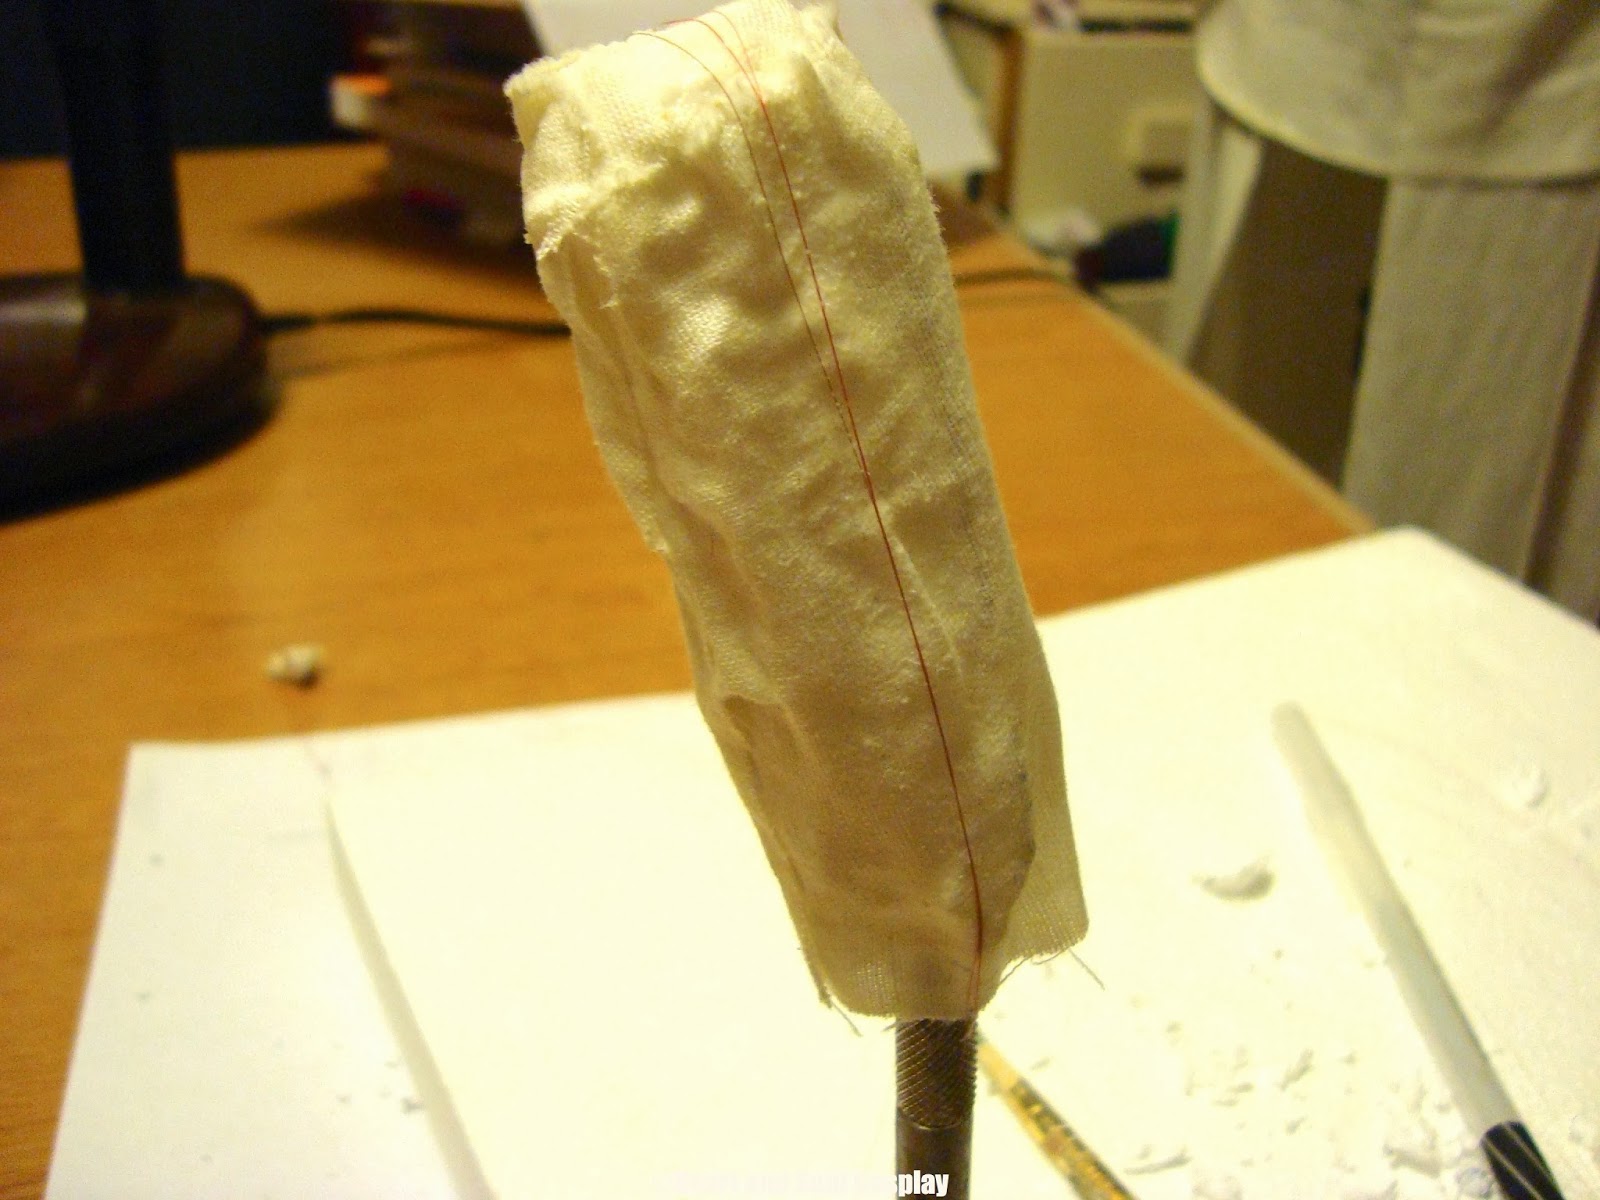
Then, using wefts I purchased from Arda Wigs, I layered hair over the top of it. Similar to rolling of a skein of yarn is the best way I could describe it. I designated one end of the poof the "top", and so to best emulate a natural poof of hair, there are multiple layers, held together with Tacky Glue and Hairspray.

The bottom half of the poof looked really messy because of all the glue, so I made a little ring out of Wonderflex and Rub'n'Buff, glued the hair to the inside, and glued it around the ring I had already made into the headdress.


The sickly yellow lighting in my craft room doesn't do it much justice in photos, but trust me, it came out a lot better than I was expecting it too. It is super stable, and will be consistent for the future of this costume!
Thanks for reading, everyone! I love getting feedback, so feel free to leave a comment or hit me up on Twitter, @whimsyAly
Until next time,
Alycia


