Hi, all!
So I think saying "I'm done!" with my Morgiana cosplay is a little misleading, but all the sewing is done! All I have left to do is decide on wig and contacts to order, then a little bit of beading for the necklace, then I will really be done! But none-the-less, most of it is done and I am very proud of myself. Aside from the top, which was built on top of a bra, this is the first cosplay I've done where I made all the pieces myself instead of repurposing old clothing. Actually, ignore that last sentence. That is a lie. My Erza Scarlet cosplay was done the same way-- I made everything for that except for the bra top that the armor was built over. But back to this cosplay-- although it might look simple, it was a bit of a challenge for myself because I've never really made anything like this outfit. And booooy, was it a learning experience in the last stretch. I'll explain as I go. For now, here are the photos of the last stages of the sewing!
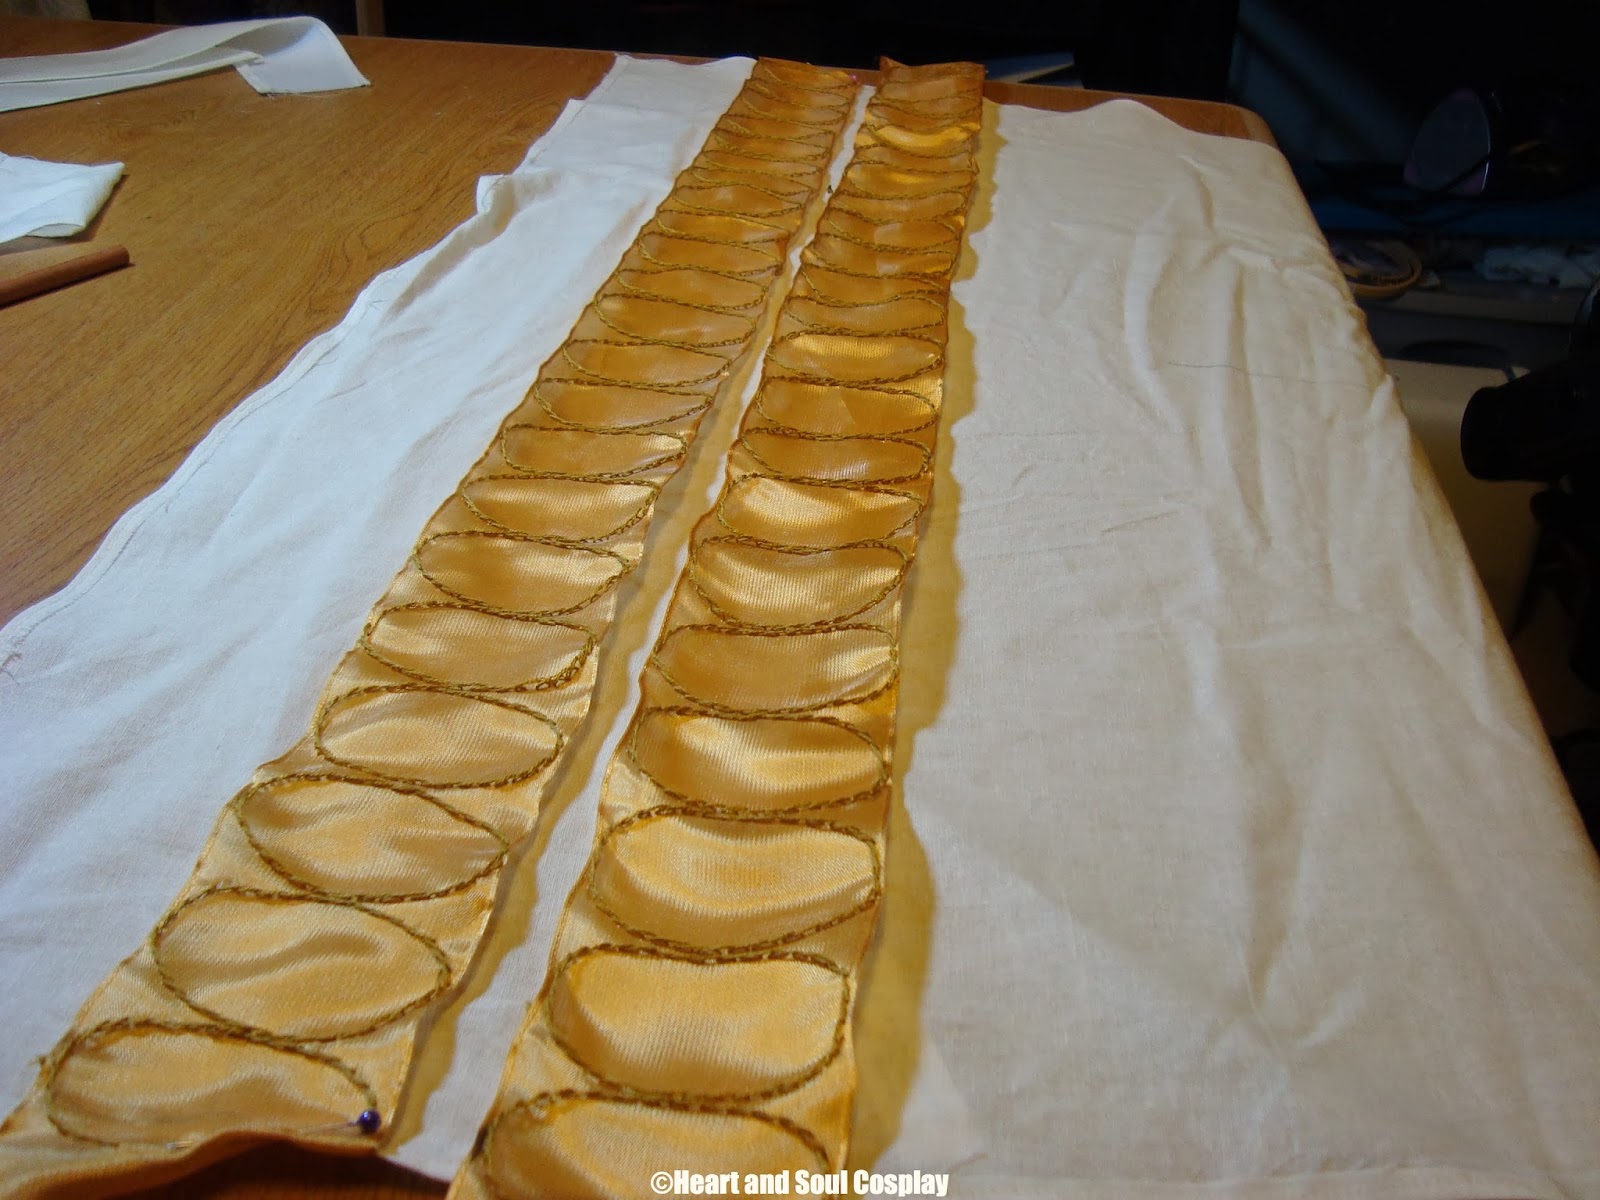
>>Here they are, the notorious embroidered circles! Lovingly embroidered onto silk wired-ribbon, then painstakingly hand-stitched into place so they would match up on the front and back of the skirt.
 |
| See my beautiful, even stitches! Mostly..... |
 |
| Front view |
 |
| Back view |
>>Now, I needed to construct some sort of belt to keep the two skirt pieces attached and secure on my body. So I made a strip of material and reinforced it with fusible interfacing, then hand-sewed the two skirt pieces to the "belt". To make an attachment, I used two hook/eye combos, as seen below:
 |
| The eye |
 |
| The hook |
 |
| The final result |
 |
| It all comes together now! |
>> Now, for the overlapping material on the skirt. This was the part that gave me the most frustration, as I didn't abide by the "measure twice, cut once" rule and ended up doing a section about three times. I decided to build the different sections of draping, for lack of a better word, into separate sections that could be snapped and unsnapped, just for the ease of getting the cosplay on and off.
Above is the first front flap I made. It turned out to be a little too revealing for my tastes, so you'll see later on that I replaced it for a more modest drape in the front.
 |
| Snaps are easy to install, easy to use! |
 |
| An example of the draping. The back drape is a bit bigger than the front one, and hangs down a little more in the back. |
>>Lastly, there is fabric that hangs down on each side, connecting at the top and draping at the bottom. I sewed it onto the top, and then it will tuck into the bottom and be plenty secure.
Voila! The finished cosplay! Okay, mostly finished. Once I get the wig and contacts, I have a photo shoot plan in my head that I can't wait to do. It will be worn in "debut" at the 2014 Sakura-Con, to which I am elated to say I already have tickets purchased for and hotel booked. Also-- exciting news, Justin is joining me in this cosplay as Masrur, who in the Magi series is one of Sinbad's Eight Generals. Seriously, if you haven't checked out this series you are missing out! I'll be posting progress of this cosplay, because it will involve making some armor, and will be a bit different than any other armor-related cosplays we have done before.
Any questions or comments? Don't be afraid to leave a comment or send an e-mail or tweet! I enjoy your feedback.
Take care, everyone!
-Alycia
heartandsoulcosplay@gmail.com or @whimsyAly on Twitter


No comments:
Post a Comment